Monday, November 28, 2011

Making A Lot Meaning No Time For Blogging.....

So, like always, it has been a while since I have posted.  I have been really busy sewing a lot.  I am going to try something new.  Instead of individual posts, there will be one post containing ALL the things I have made lately.  Enjoy!!
Let's start at end of July/the beginning of August.  We traveled to Atlanta to watch the Braves play.  I made this dress for Our G.  Pillowcase pattern for the main piece then I added ruffles to the bottom.  On the front of the dress I sewed on a Braves patch and used a tight zig-zag stitch around it to look like it was embroidered on.  I also made her bows out of the same red and blue.  You can kind of see them in her hair.


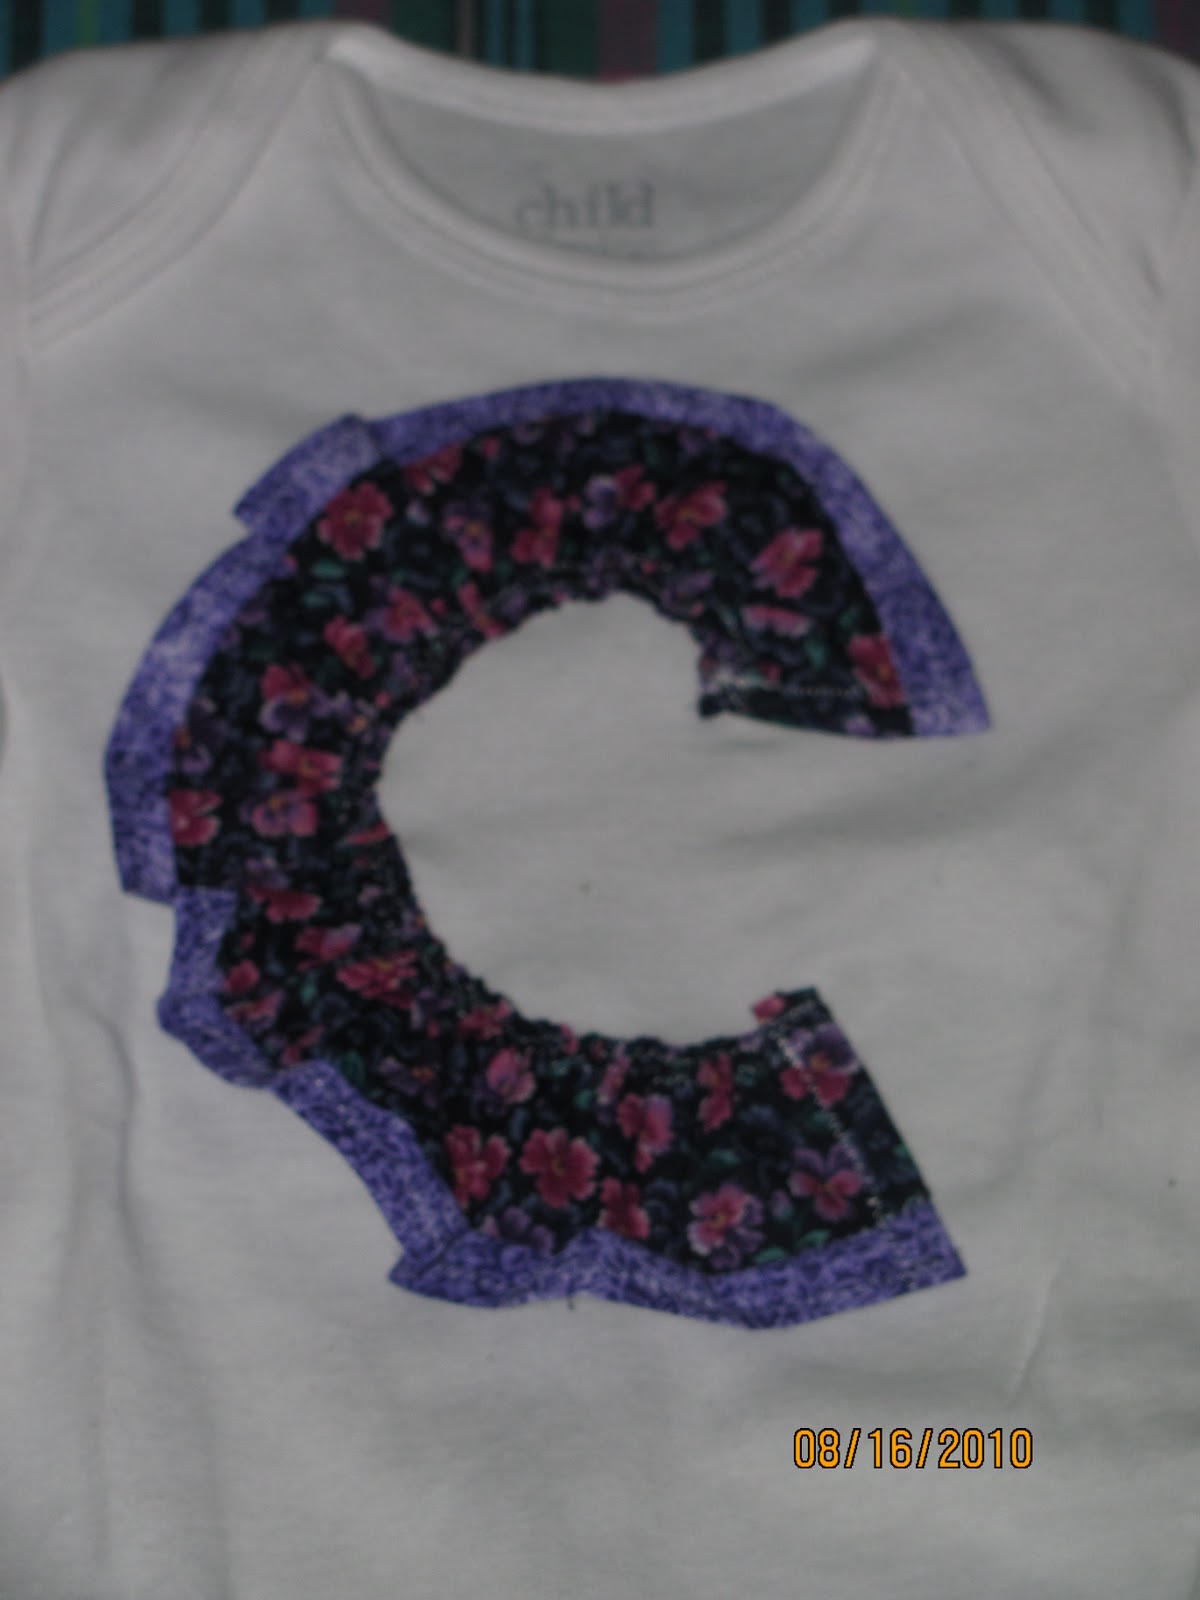
Next, was another baby shower, this one for a baby girl.  I bought some more onesie's and used some material to add ruffles and deco.  The material was once belonged to the babies great-grandmother.  It made it more special to me, hopefully to the mother also.  One more thing, the baby's name starts with a C.


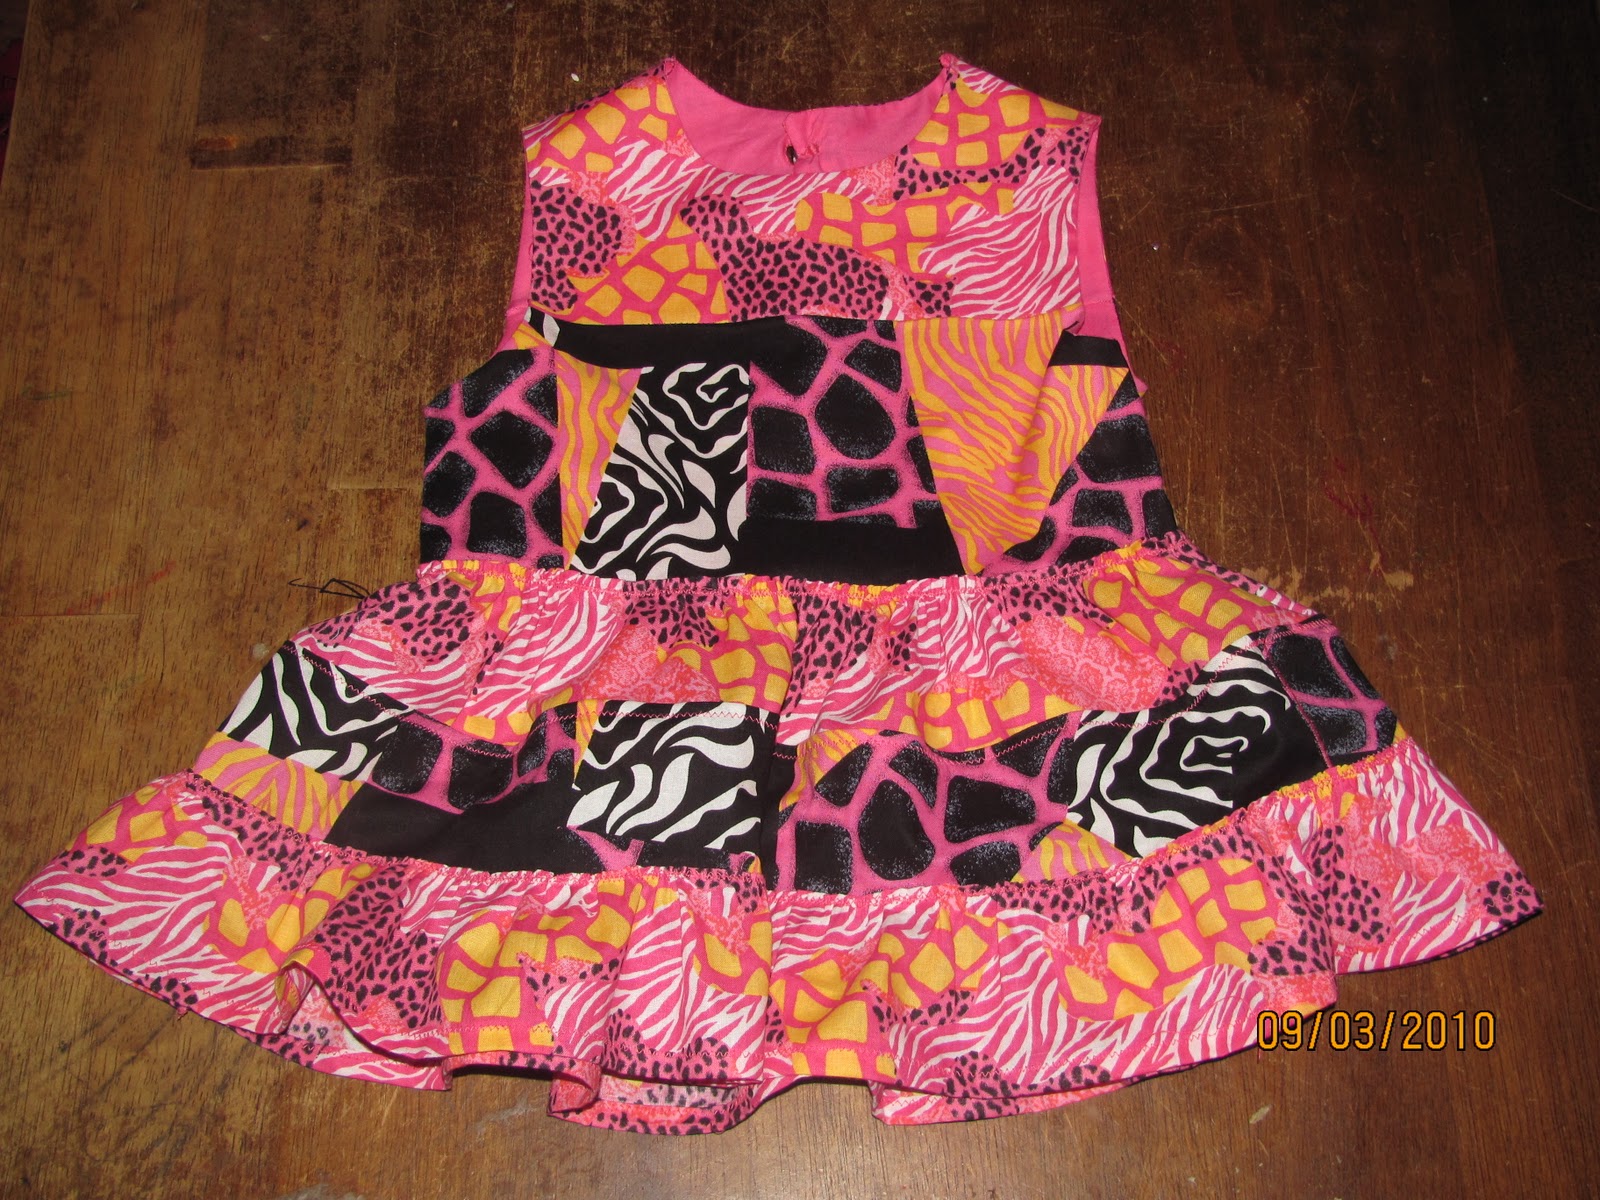
After this was another outfit for my cousin K's daughter.  Once again, she picked out the fabric she wanted and I put it together.  Instead of doing the straps for the top, this time I made using a pattern I have.  It was the same one I used to make G's Easter dress.  Anyways, made the bodice using the pattern and added the ruffles to the bottom.  Also, instead of the ties on the side, K decided on a button. This was my first ever button and while it wasn't awful, there is room for improvement.   
I put ruffles on the pants that were cut to be capri's and added the crown patch that K picked out. 


The fourth project I did was G's 2nd birthday fiesta.  G LOVES Dora so we I decided to do a Dora/Mexican theme for her party.  I made her invitations using this tutorial. They were Dora's backpack.  I made bunting to hang out of fabric and bias tape.  I also made a little bit of bunting made out of paper.  More fabric bunting was made because it looked better and was larger.  I made a door hanger in the shape of a two covered in buttons (the idea I got from this website).  I also cut some 2's out of paint chips and strung them together but ended up using only one of them above the door.  I also made crayon rolls using the tute from Prudent Baby for party favors (no pics of these). 
The first pic is of Our G and My Love but if you look in the background you can see some of the bunting and the maraca table.  (The flower in G's hair was made using a store bought daisy with a sparkly button for the center; hot glued on a hair clip.)


The fifth item I made was a pillowcase dress for a little girl I go to church with.  Her mother wanted it for homecoming.  Our colors are red and black and she picked out the material and the ribbon.  She bought black, red and silver and wanted them sewn together.  I had never sewed ribbon before but it was easy and came out super cute.  I layed the black on top of the red and the silver on the black.  Sewed them together with a zig-zag stitch which added even more cuteness to it I think.  I made it too big and had to go back and make it smaller but other than that I think she was fairly pleased with it.  The little girl wore it to church and it looked cute on her.  Well, she's a cutie so just about everything looks cute on her but it did to so.  Here are pics of it:


That is all for now.  I have quite a bit more left to post but it was getting to long so more to come soon!!


Thursday, September 1, 2011

Homemade Donuts Using Cheap Biscuts

When I was little, my cousin's and I would make donut's.  I remember making them at my Aunt N's house a lot but we also made them at home.  They are SUPER easy and even better, SUPER cheap.  Maybe you have made them before.  All you need is a cheap can of WHOP!! biscuts, powdered sugar and milk. 
You open the biscut's (of course) and make a hole in the middle of each one using whatever tool you have chosen for the job.  It helps if you flatten out the biscut a little.  After you get all the hole's punched you fry each one in vegeatable oil or whichever oil you prefer.  You DO NOT want the grease to hot or the donut's will not be done in the middle.  Low and slow is the best way.  Just watch them for the color you want them to be then flip and once the other side is done you take them out and place them on a paper towel to drain.  The last time I made them a used a wire cooling rack to drain them and this worked MUCH better. 
The icing is just powdered sugar and milk.  Maybe a quarter cup of powdred sugar and 1-2 TBL spoons of milk.  I have never measured it; I usually just pour from the bag.  It doesn't take much milk though.  I also add vanilla to the icing for extra flavor.  Not much though; maybe 1/2 a tsp. 
So, once the donuts are all cooked and the icing is mixed up you just dip each donut/donut hole in the icing and coat liberally.  Place on a platter and let sit till the icing sets (if you can wait that long).  DONE!!  GREAT, cheap, quick and easy donuts. 
I showed my son J how to make them last month and he LOVED them.  Here are some pics of the ones we made that day:


A Birthday

My niece HB had a birthday in July.  She had stayed the night with us back in May and while she was here we browsed the fabric shop's online for some material to make her a skirt for her birthday.  Of course, Michael Miller was her choice (she has GREAT taste!!).  So, when July came around, along with her birthday, we both knew what she was getting. 
I made a simple straight skirt, sewing up both sides and giving it an elastic waist.  To add a little surprise I also made her a couple of headband's using this tute from foofanagle.  The headband's are reversible so I made one with pink lining and the other with white. 
I also made her some fabric rosette's and put a clip on the back of them so she could wear them in her hair.
She said she liked her gift's and I hope she really did!!  LOVE, LOVE my niece's and nephew's and their happiness means a LOT to me!!
Here are some pics of the skirt, headband's and rosette's:


Tuesday, August 30, 2011

More Bandana Dresses

After I made the bandana dress for my cousin K she showed a pic of it to a lady she knows, M.  M has 2 daughters and wanted one for each of them. L's bandana's had a black border and M wanted her daughter's dresses to have a border also.  She bought 3 bandana's for each daughter and some chiffon to make the border with.  She also brought a patch for each dress.  A flower for the smaller one and a butterfly for the larger one.
This was the first time I had ever worked with chiffon and let me tell you, it is AWFUL!!  Very pretty but I had trouble working with it.  I couldn't cut straight strips and the strips I did cut were not easy to fold and hem.  Note for the future: no chiffon for bandana dresses.
As mentioned above, I cut strips out of the chiffon.  The chiffon was so thin that I had to fold it over multiple times so that you couldn't see the bandana material through it.  I folded it over and then sewed the raw edge to prevent raveling.  Each strip (4 for each bandana; 8 for each dress) was sewed on to create the lines for the border.  After all the strips were sewed on I then made the bandana dresses like normal.  (For those of you who do not want to look back in my archives, here is the tute I use to make the bandana dresses- bandana dress by Living With Punks.)  After the dresses were made I sewed the patches on the dresses. 
M also wanted some bows made for her girls.  She wanted two small bows for the smaller girl and one large bow for the larger girl. 
Here are some pics of the finished bows and dresses:


Tuesday, July 26, 2011

Mermaids

As I said in an earlier post, sometime I watch L for my cousin K.  L turned three and her party was the end of June.  She LOVES being any kind of a princess and I knew she likes mermaids so I decided to make her a mermaid tail for her birthday.  She told me she wanted it pink and I found some sparkly pick fabric that was PERFECT.  I had no pattern for this so I just sort of winged it and made it up as I went without one. 
First, I cut out a skirt for the tail using a plain pink fabric.  I sewed the "scales" onto this.  Once the skirt was cut out, I knew how long to make my "scale" strips.  I cut out all the strips making sure I had two strips the same length and width. 
To make the "scale" look I pinned the two strips together and cut scallops into them.  Example below:


After the "scales" were cut into the strips I sewed them on the skirt, starting at the bottom.  As you can see in the pic, at this point in time they were going on slightly crooked which was easy to fix.  Was glad I took the pic though since it allowed me to identify a problem I was unaware of. 


Now, you are probably wondering where the pic of the finished tail is.  Yeah, ummmm, once again, I forgot it.  We were running late and in a huge rush and I bagged the present and left without taking a pic.  One was not taken at the party because I did not have the camera, My Love did.  Cousin K said she would bring it to my house when L came again but hasn't yet.  I hope to have a pic of it soon and when I do get it I will post it on here for sure. 
I also made her a crown using the sparkly pink fabric but did not get a pic of it either. 
Just so you know, I NOW take pics of everything as SOON as I finish it.  Maybe, just maybe, I will never not have a pic again.  Here's to hoping!!!


Needing Shorts for Our Girls

Our KK and G needed shorts for summer.  I already had  a pattern so I thought I would make them instead of buy.  This means (because I already had the fabric or my GREAT Mammaw gave it to me) the shorts I made for them were free!!  You have got to LOVE that!!!  So first was Our KK.  I made her a pair of purple checked shorts to match a shirt she already had as well as a pair of lime colored ones that also matched a couple pf shirts.  All made using the McCall's pattern I have. 
For Our G, I used a pair of capris that are almost to small for her as the pattern.  I LOVE how they look on her hence the use of them.  The fabric I used for G's shorts is the same skull fabric I used to put a cell phone pocket on My Loves shorts. 
I also made Our J a pair of shorts out of some fabric he picked out and my nephew B a pair of robot shorts for his birthday.  However, I forgot (AGAIN) to take pics of these.  Bad habit I have, I know. 
So, here are the pics I do have of the shorts I have made. 


I REALLY like the shorts I made (and so did the kids, YAY!!)  and will make more.  I actually have more cut out to make.  Also, next to skirts, shorts are the EASIEST thing I have ever made.  Although, I do not think I have made anything that was really challenging yet.  Maybe there will be a challenge in my future.  We shall see.

Monday, July 25, 2011

Another Re-Fashion; Tunic to a Skirt

As I said before , my cousin K was cleaning and gave me some of her daughters clothes.  In these clothes was a cute outfit that consisted of a tunic and some tights.  It was a 3T though so that meant waiting for it to fit Our G.  However, I really liked the print of the tunic and I am obsessed with making skirts so I decided to make a skirt for G out of the tunic.  It was high waisted, which was perfect, so I just cut it at the waist.  I folded the top over and added some elastic and VOILA!!  Our G had a new skirt!!  YAY!!  Here is a before and after pic along with a couple of pics of Ms. G modeling it:


Oh yeah, I almost forgot, you can see that the skirt has pockets and Our G ABSOLUTELY LOVES this.  I put the skirt on her and in go her hands!!  Double YAY!!!